The Direct to Plate, Polymer Photogravure Process #4

Part IV - Printing the Image

While the plate is being prepared, water color paper is dampened. (My preferred choice these days is Fabriano Rosapina but there are scores of choices. https://www.dickblick.com/products/fabriano-rosaspina-paper/ Asmall degree of dampness is essential to assure a transfer of the ink from the plate to the paper when run through the press. Again, there are many techniques for dampening. My choice is to leave it in a tray of fresh water for half an hour or more. I then place it between the folds of a towel to dry, running my hands over the surface of the outer towel fold. If the paper is too damp when printed it will adhere to the plate, ruining the print and requiring some serious effort to clean and re-ink the plate. Learning to judge the proper dampness took me awhile (with many ruined prints in the process).

The inked plate is now placed on the bed of the etching press.

The dampened water color paper is then placed over the plate and the felt blankets (seen on the right side of the image above) are then laid over the “sandwich” of plate and paper. The press is then cranked, forcing the sandwich between two large rollers. The paper is thus pressed with hundreds of pounds of pressure, causing the ink to transfer from the plate to the paper.

The press bed emerges on the right side of the press, the paper is gently lifted from the plate, and the final image appears, clean and free of adhesions to the plate (hopefully!).

The print is then placed between two pieces of blank newsprint and placed between sheets of sheetrock for flattening and drying. It is then complete, ready for framing or the portfolio

In summary, this process is slow and, for me, extremely satisfying. Nice music and a little wine don’t detract from the experience on a cold, snowy day.

The Direct to Plate, Polymer Photogravure Process #3

Part III - Inking the Plate

The hardened plate is next placed on the inking bench and covered with a thin layer of ink. There are many types and colors of ink available. I prefer Charbonnel AquaWash, water based inks (http://takachpress.com/access/charbonnelAquaWash.html) but purists insist on oil base inks which are more vivid though much more difficult to clean. There is a great deal written on line on this topic There are also many ways to apply the ink. The brayer works best for me but others use stiff card stock or other materials to spread the ink on the plate and into the grooves..

After the plate is fully inked, it is then wiped with a cloth. The purpose of the wiping is to remove most of the ink from the areas that will appear lightest in the print while allowing the ink in the deeper grooves to remain and thus print darker. Again, there are many cloth choices. I have had good luck with the Akua wiping cloth (https://shop.takachpress.com/akua-wiping-fabric/) in combination with my ink choices. The wiping process is one of several points where creative choices must be made — how hard to wipe, what temperature, use of hands for wiping and many more.

Once the plate is wiped, it is ready to print.

The Direct to Plate, Polymer Photogravure Process #2

Part II - Making the Plate

The prepared image is printed on a blank polymer plate. These plates are available from a number of sources and are also used in the commercial printing world. There are a number of types though the pandemic has made some varieties very scarce. I print my plates on an Epson 3880, using the manual front loading process with the plate nested in a matte board carrier.

The plate, now bearing the image printed on its surface, is placed in a UV box and exposed for 90 seconds. These exposure times vary according to the type of UV box, the type of polymer plate and other factors. My box was manufactured by Edwards Engineered Products. http://www.eepjon.com/uv.htm. I bought it several years ago for making paladium and other alternative process prints. It does an excellent job with these polymer plates as well. 90 seconds is the optimum exposure time for my workflow with my box.

In essence, the ultraviolet light penetrates into the polymer, causing it to harden. In lighter area of the image where there is little or no ink printed on the plate, more light passes and the polymer becomes relatively hard. Conversely, in the darker areas of the image where there is more ink, less light penetrates onto the polymer which remains relatively soft. This is the basic relationship that makes the whole process work.

After exposure, the plate is placed in a water bath (about 68 degrees F) and gently washed with a soft sponge. This removes the ink and excess polymer that was not hardened by the UV light. The softer areas (where more ink was printed on the plate) become indented and grooved, which will hallow them to hold more ink in the next step (see Part III) than the harder areas. and thus print darker on the water color paper in the final print.

After the water bath, the plate is then dried, heated and returned to the UV box for another 10 minutes of exposure to fully harden the polymer. At the end of this process the images can be seen on the face of the plate when held in a cross light.

The edges of the plate are now trimmed in a heavy cutter, then sanded and filed to remove burrs and sharp edges that might damage the paper when it is put through the press.

The plate is now ready to be inked and printed. (See Part III of this blog.)

The Direct to Plate, Polymer Photogravure Process - # I

Part I - Preparing the Image

The first step is to prepare an image which will be printed on the surface of a polymer plate. These plates are used extensively in the commerical printing world. Some have proven particularly well suited to the making of continuous tone plates adaptable to the photogravure process. Those materials are available from a number of sources in the US. https://mountain-intaglio.com/collections/lsl-73-sp-polymer-plates https://shop.takachpress.com/plates/photopolymer-plate/ https://www.boxcarpress.com/shop/category/photopolymer-sheets/steel-backed/ I have done business with all of these suppliers and found the very responsive and helpful.

An image is selected. It can be in any format but must be digitized. Many of my images are scans from 2 1/4 negatives shot with my Hasselblad. Some are from my iPhone or my Ricoh GR pocket camera. For this discussion I will be focusing on a portrait I made in Berlin in 2017 with the Ricoh — my friends El Fox and Alexandra. Here is the image right out of the camera: The buildings behind are a reflection in the glass, not a multiple exposure.

El Fox and Alexandra, Berlin, 2017

The image is then converted to black and white.

The next step is one of the most challenging aspects of photogravure. The image must be processed in a manner that will give a full tonal range and continuous tones when processed on the etching plate. I was fortunate to study (on Zoom) with an Australian photographer/printmaker, Silvi Glattauer, who taught me a relatively simple method that I have used ever since. Here is what the image looks like cropped, reversed and processed, ready to print on the polymer etching plate. The contrast is greatly reduced. There are other important but subtle changes that must be made as well.

Reflections on Portraiture

I am often asked how I am able to persuade my subjects to open up to me when making portraits. How do I build the trust and sense of collaboration that I see as the keystones for what I like portraiture to do? Here is a short video created by my friend Deb Dawson for the Maine Museum of Photographic Arts in which I set out my thoughts on getting the portrait that really counts. “I am your mirror” I tell my subjects. The rest just follows.

Maine's Soul Survivors

At the Maine Jewish Museum in Portland

At the Maine Jewish Museum in Portland

Rose Magyar and the hands of her daughter Judith

Rose Magyar and the hands of her daughter Judith

In these days of hateful political rhetoric and deniers of history, our understanding of the real events of the Holocaust are as important as ever. Since 1996 I have photographed Maine’s Holocaust Survivors. They were mostly children or adolescents in the late 1930’s when the terror began. Most, but not all, have since passed away. These images are now a permanent exhibit at the Maine Jewish Museum in Portland, https://mainejewishmuseum.org. and the Holocaust Humans Rights Center in Augusta, https://hhrcmaine.org. .Accompanying the photographs are testimonials from the survivors that illuminate their lives and the meaning of their images. I hope that my friends in Maine and those visiting our lovely state will have an hour to spare to see the exhibit at either venue and to reflect on the significance of these words and images, particularly in this time of growing intolerance and demagoguery.


Getting the best photo with the smallest camera

I love my big old Hasselblad with its solid heavy lenses, but I am also enamored of things small. I love to go out into the world to photograph bearing the minimum equipment to get the job done. And I enjoy the challenge of pushing that equipment to the limit. Thus I am totally enamored of my Ricoh GRII, an amazing little camera that easily slips into my pocket but takes remarkably clear photographs. It costs about $450 at B&H — less than many lenses for my Canon 5D mk III. https://www.bhphotovideo.com/c/product/1159252-REG/ricoh_175843_gr_ii_digital_camera.html .

Ricoh GRII

Ricoh GRII

I will write a lot more about this camera in a later blog but today I want to show you how I get the best images possible from the smallest camera.

Here is portrait I made with the Ricoh earlier this week of my Porters Landing neighbor Lindsay Sterling.


Lindsay at the Steinway

Lindsay at the Steinway

To capture the images, I affixed the Ricoh GW-3 Wide Angle lens that converts the fixed lens in the camera to 21mm. (That add costs only $149 at B&H)

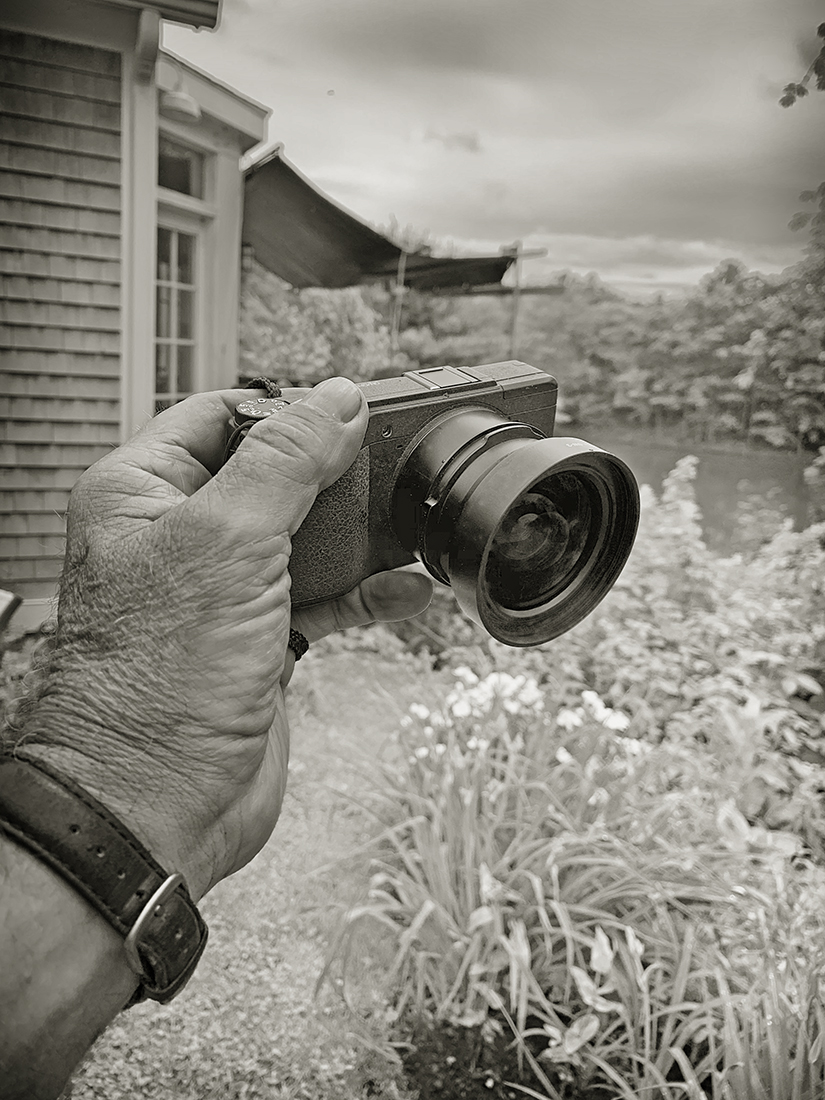
Ricoh GRII with GW-3 Wide Angle lens

Ricoh GRII with GW-3 Wide Angle lens

In order to get the shot while standing behind Lindsay’s kitchen counter I had to hold the camera high over my head, looking down. That is why you are able to see so much of the top of the piano in the final image. I wanted to bet everything in from the top of the windows to the closest leg of the piano. But with such a wide lens pointing downward there was going to be a lot of distortion. Here is the original, unprocessed shot.

Lindsay’s image right out of the camera

Lindsay’s image right out of the camera

The process from this point all takes place in PhotoShop. Here are the steps that got me to the final image you see above:

  1. I get rid of noise using Neat Image. https://ni.neatvideo.com/overview/what-is-it . I have had great success with this product, much better than the noise reduction within PhotoShop.

  2. I apply the PhotoShop filter Lens Correction. I use the Custom mode which is much more precise but this only makes the distortion less pronounced. It still needs more work.

  3. I then apply the PhotoShop filter Adaptive Wide Angle. Once you learn how to use this filter it is magical. It will straighten out lines and give you true horizontal and vertical orientations of walls, windows, doors or anything else.

  4. I then convert to a monochrome. There are at least two ways to do this that I use — either the Filter Camera Raw or by using the Nik Software’s plug-in Silver Efex Pro 2. https://nikcollection.dxo.com/silver-efex-pro . Either technique will let you assign specific values in the translation from color to monochrome. I may write a blog in the future on the differences between the two methods. But Silver Efex also lets you tone your image in countless ways.

  5. I then flatten the image and go to Image/Adjustments/Curves to make sure that my image captures “almost” the full dynamic range from black to white, just making sure there is a tiny bit of texture in both the darkest and lightest part of the image. I also use Image/Adjustments/ShadowHighlight to tweak the perceived dynamic range.

All that may sound like a lot of work but having used this workflow for a few years it is now second nature. The result is the ability to get the best image I can from my little camera. The only other way I know to conquer the problem in this photo would have been to use a tilt shift lens (that might have worked) or a view camera. Neither one would fit in my pocket, however.